



Care & How-To
How to Sharpen a Knife on a Whetstone
Learning how to sharpen a knife on a whetstone is the single most valuable skill in the kitchen. A whetstone — also called a water stone — puts a genuinely sharp edge on a blade in a way no pull-through gadget can match, and once you have the motion, it takes only a few minutes. It looks intimidating from the outside. It is not. Here is the whole process, step by step.
Why a whetstone beats a gadget
Pull-through sharpeners and electric machines grind metal away quickly and at a fixed, aggressive angle. They work, but they remove more steel than needed and rarely leave a truly fine edge. A whetstone lets you control the angle, take off only the metal you need to, and finish with an edge that slices cleanly rather than tearing. For a good Japanese knife, it is the only sharpening method that does the blade justice.
What you need
- A whetstone — ideally with two sides, a coarser grit for setting the edge and a finer grit for refining it. A combination stone in the medium range covers most home needs.
- Water. Most stones are soaked or splashed with water, never oil.
- A damp towel or a non-slip base to hold the stone still.
- Your knife, and a few unhurried minutes.
Step 1: Prepare the stone
Many whetstones need soaking before use — sit the stone in water until the stream of bubbles stops, then set it on a stable, non-slip surface. Some finer "splash-and-go" stones only need their surface wetted. Check what kind you have; a stone used dry will not cut properly and can be damaged. Keep the surface wet throughout — the water carries away the fine metal and stone particles that do the actual sharpening.
Step 2: Find your angle
Angle is everything. For most kitchen knives, an edge angle of roughly 15 to 20 degrees per side works well — Japanese knives often sit toward the lower, keener end. You do not need a protractor: rest the blade flat on the stone, then lift the spine until it is about the width of two stacked coins off the surface. That is close enough. The key is holding that same angle consistently through every stroke — consistency matters far more than hitting an exact number.
You are not forcing metal off the blade. You are guiding the edge across the stone at a steady angle and letting the grit do the work.
Step 3: Sharpen the first side
With the edge facing away and your angle set, push the knife across the stone as if you were trying to shave a thin slice off the top of it — leading with the edge, moving from heel to tip so the whole edge gets worked. Use light, even pressure with the fingers of your other hand resting on the blade to steady it. Bring the blade back and repeat. Work in smooth, controlled strokes rather than fast scrubbing. Cover the full length of the edge, including the curve up to the tip.
Step 4: Feel for the burr
After a set of strokes, carefully feel the back of the edge on the opposite side — run a fingertip away from the edge, never along it. You are feeling for a burr: a tiny, consistent lip of metal that forms along the whole length when that side is sharp. When you can feel the burr from heel to tip, that side is done. The burr is your proof the two bevels have met — the most reliable signal in the whole process.
Step 5: Sharpen the second side
Flip the knife and repeat exactly the same motion on the other side, holding the same angle, until you raise a burr along the full length in the other direction. Try to give each side a similar number of strokes so the edge stays centred and even.
Step 6: Refine on the fine side
Switch to the finer grit if your stone has one. Repeat the light strokes on both sides — fewer are needed now — to remove the burr and polish the edge. Finish with a few very light, alternating passes, one side then the other, using barely any pressure. This leaves a clean, keen edge rather than a rough, toothy one.
Step 7: Test the edge
Wipe the blade clean and dry. Hold a sheet of paper and slice down through it — a sharp edge glides through cleanly without tearing or slipping. A ripe tomato is another honest test: a properly sharpened knife breaks the skin with almost no pressure. If it catches, go back to the fine side for a few more light passes.
How often should you sharpen?
Sharpening removes metal, so you only do it when the edge is genuinely dull — for a home cook, that might be every month or two of regular use. Between sharpenings, a honing rod keeps the edge straight and keen, which is a different job entirely and far more frequent — our guide to honing vs sharpening explains the difference. Master both and your knives stay sharp with very little effort.
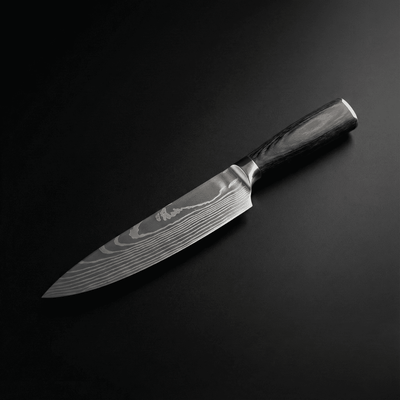
A whetstone will keep a good knife performing for its entire life — which is exactly why it is worth learning. See the blades worth keeping that sharp in our chef's knives collection.
The Cookware
Built to Last
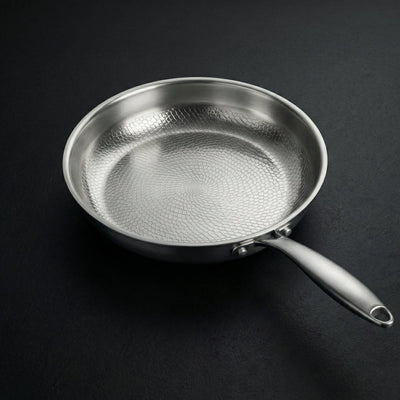
Uncoated grade-1 titanium. No PFAS, no coatings, backed by a 25-year warranty.
Shop the Collection